Where Should You Start and Stop Your Backsplash?
Consider these tips and tricks to work around cabinets, windows and more for a finished look in your kitchen
Wondering where to end your backsplash? Never even thought about it? It can be a surprisingly complex question. These tips will help you find the right place to stop your backsplash to get a crisp look in any kitchen.
From a designer perspective, the best time to stop a backsplash is … never! After all, when you’ve chosen a beautiful material, why wouldn’t you want more of it? Taking a backsplash wall to wall and counter to ceiling makes for
seamless lines and definitely a dramatic effect. Keep in mind, a full-height granite or quartz backsplash might not be as budget-busting or as visually overwhelming as you might think.
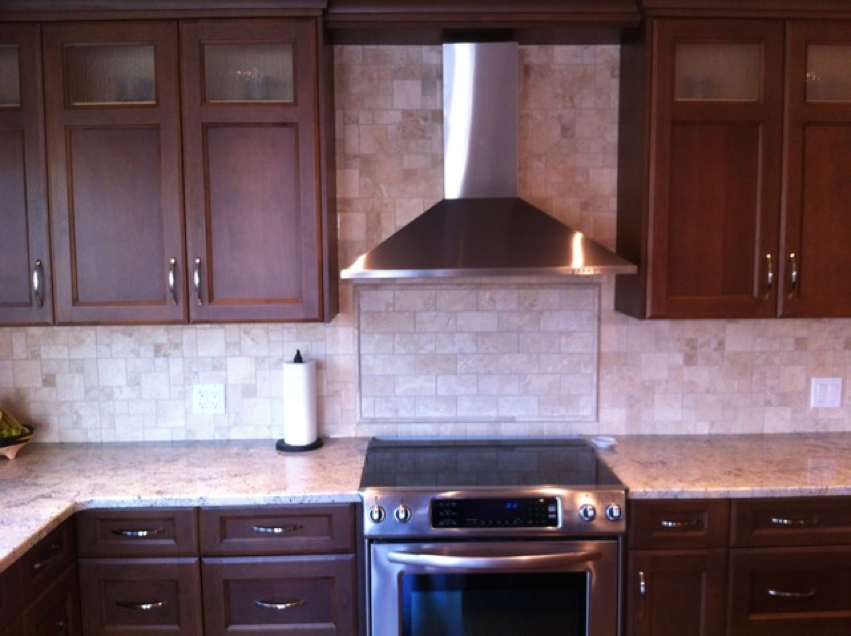
Of course, in reality it isn’t always an option to cover every inch of wall in a coveted stone. Even in this elegant kitchen in Deland someone had to decide: Where should the finish end on the range wall? Above the range hood? Below it? In your project, the decisions can be simple or quite complicated, depending on multiple factors.
General Rule
 Opinions differ on this, but for a finished look I typically tile just the main walls of the kitchen (those with cabinets), ending at the corners rather than wrapping around to finish the sides, if there are any.
In some cases, a granite or tile “side-splash” on a non-cabinet wall can be functional and beautiful, but skipping it is the simplest way to avoid situations where elements don’t line up neatly. Typically, the countertop, upper cabinets and wall all end at different places on the sides, leaving no definitive stopping point.
Small kitchens. Fully covering the wall usually is your best bet in a small kitchen (or in a larger kitchen that has just a small area for the backsplash). 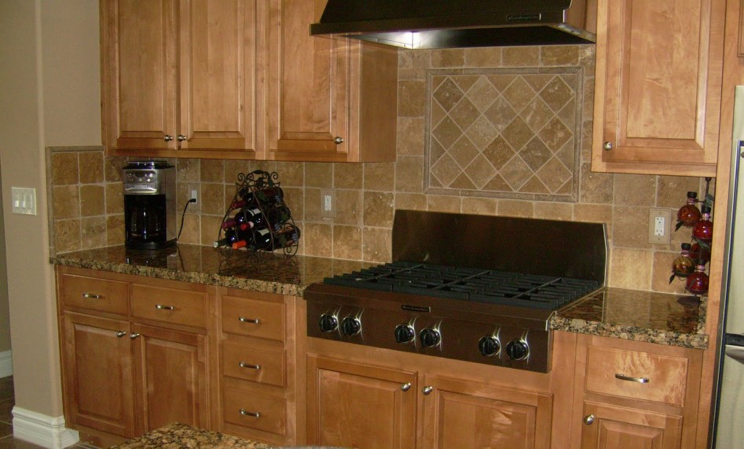
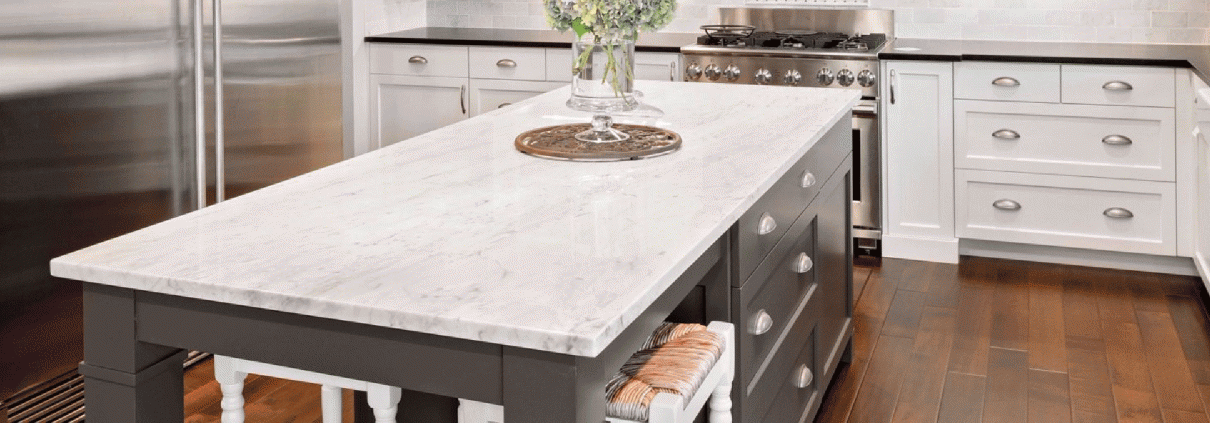
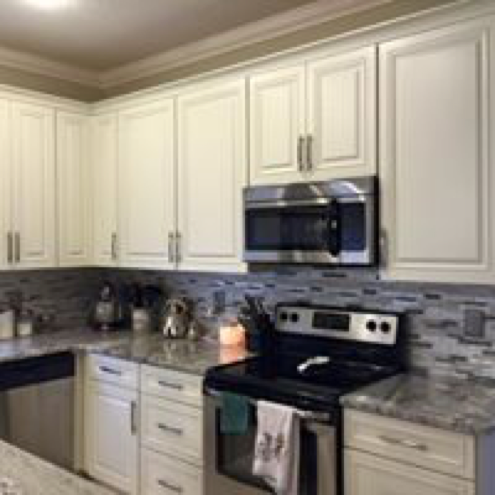
The sort of layout shown here is from a home in Sanford, with just a single backsplash area between the fridge cabinet and side wall, is common in galley kitchens in apartments and condominiums. Tiling the entire area in one material makes for the tidiest finish, which can help make the kitchen look its biggest.
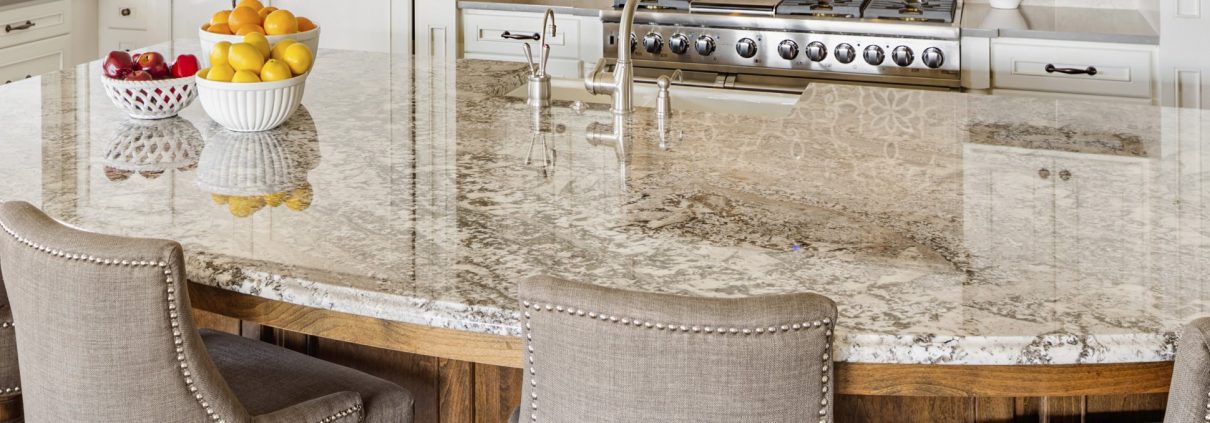
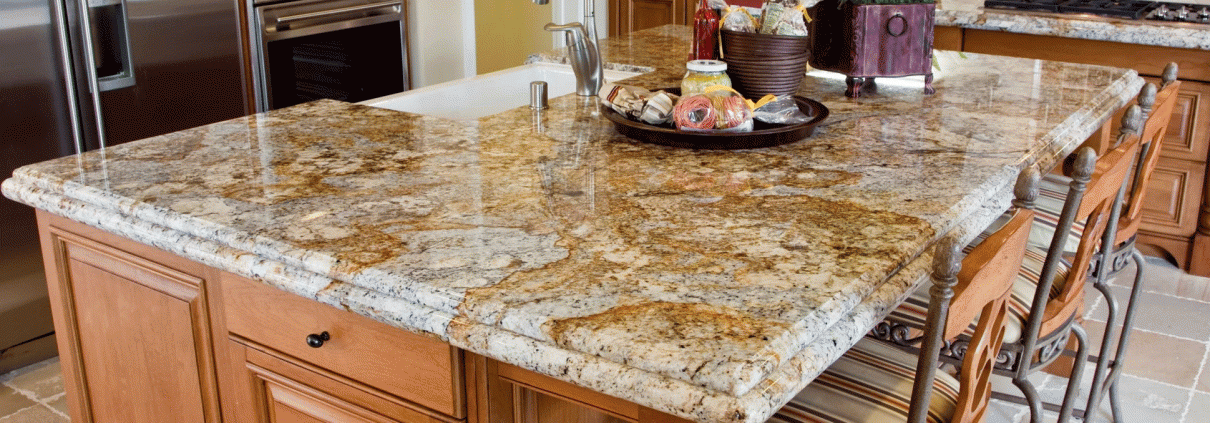
Big kitchens. In the case of a very large kitchen, like the one shown here in Altamonte Springs, or one with dramatically tall ceilings, taking backsplash to full height can completely overload the look. In a case like this, ending the New Venetian Gold granite slab backsplash vertically at the same line as the range hood gives a better finish.
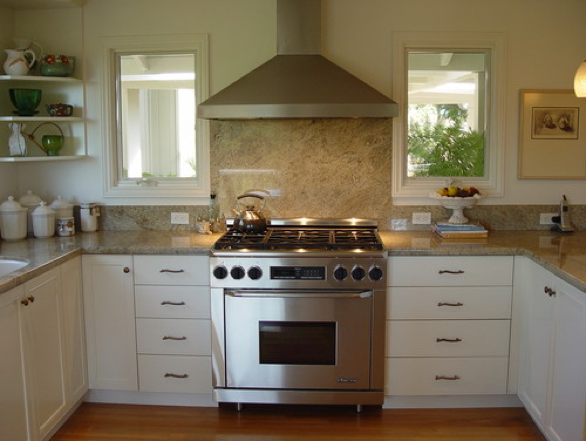
Windows. Sometimes there will be very small areas of wall between windows and a counter or cabinet. It may be tempting to leave these areas empty (and often easier on the installer), but the overall effect will be subtly tidier if you imagine the window does not exist when planning where to end the splash.
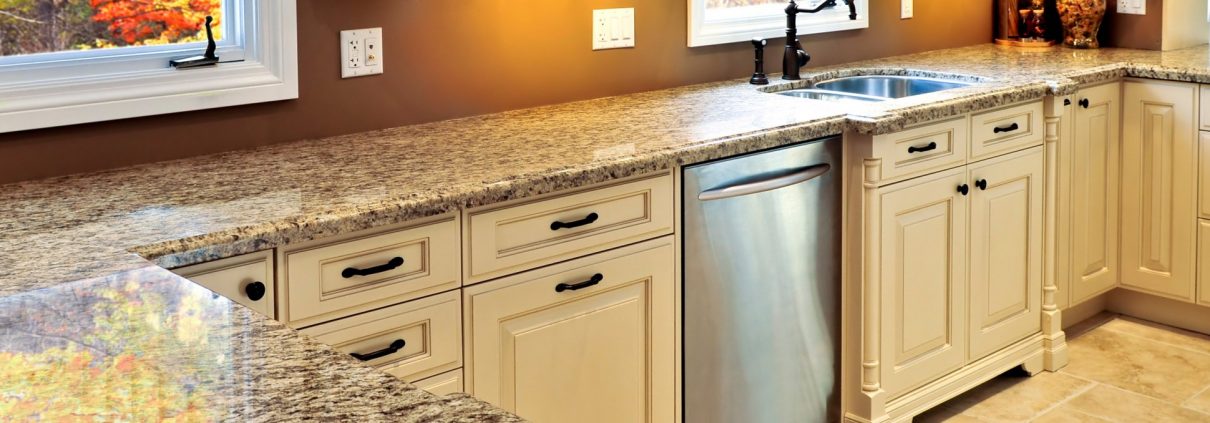
With this kitchen in Sanford, the splash continues all the way to the corner and up to the height of the upper shelves so that from a distance the line of the upper cabinets is unbroken. It’s a subtle difference versus simply ending at the window, but these little details can make a kitchen feel so much more finished.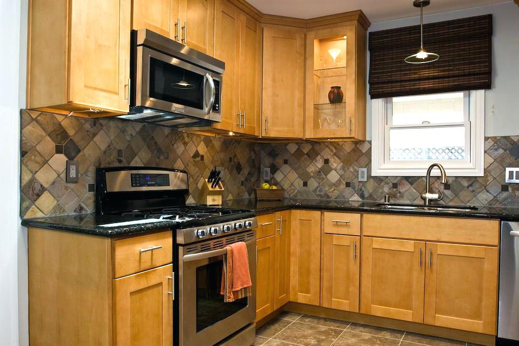
Differing heights. This kitchen in Winter Park, with countertops of Solarius granite, has many items at different heights such as window frames and varying height cabinets, I would still use the bottom of the cabinets as a main stopping point, with possibly a little exception at the range for a taller backsplash up to the hood.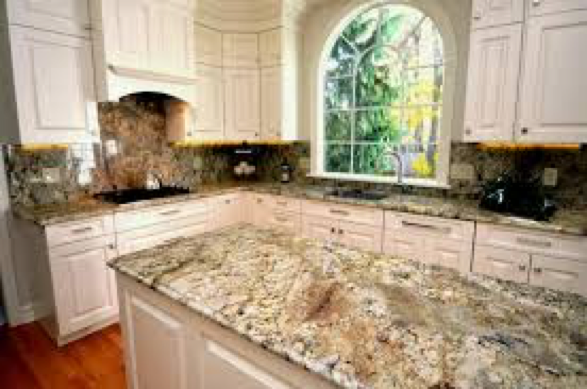
Another way to solve any backsplash height conundrums is to use an elegant short backsplash, just 4” inches tall. This way, you can run it around the entire counter at one unbroken height and leave the rest of the wall a uniform color.
Remodels
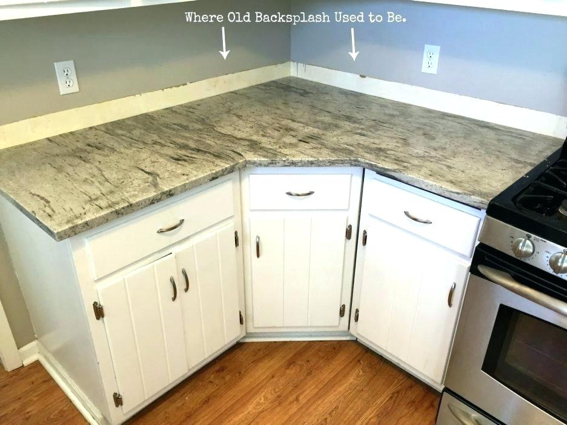
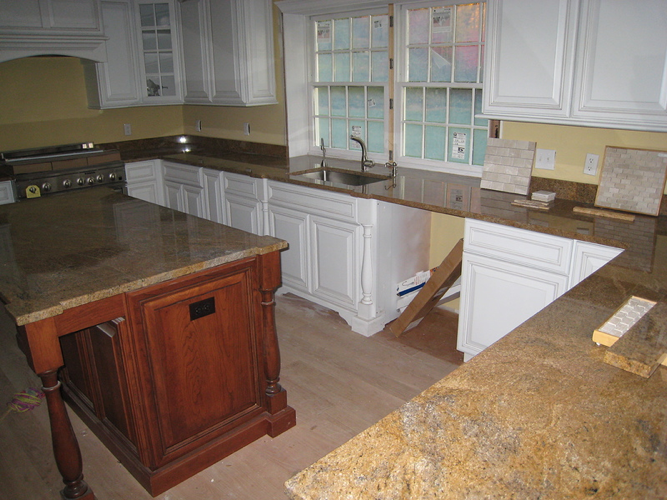
In the case of remodels, like this one in Lake Mary, be sure that the height of the new splash is tall enough to cover the line on the wall where the old splash was removed. We usually aim for ¼” above this line to help reduce extra finish work after we install the countertops and splash.
